How to DIY Your Concrete Patio Installation Like a Pro
Learn how to DIY your concrete patio installation like a pro with our step-by-step guide. Achieve professional results and transform your outdoor space with ease.
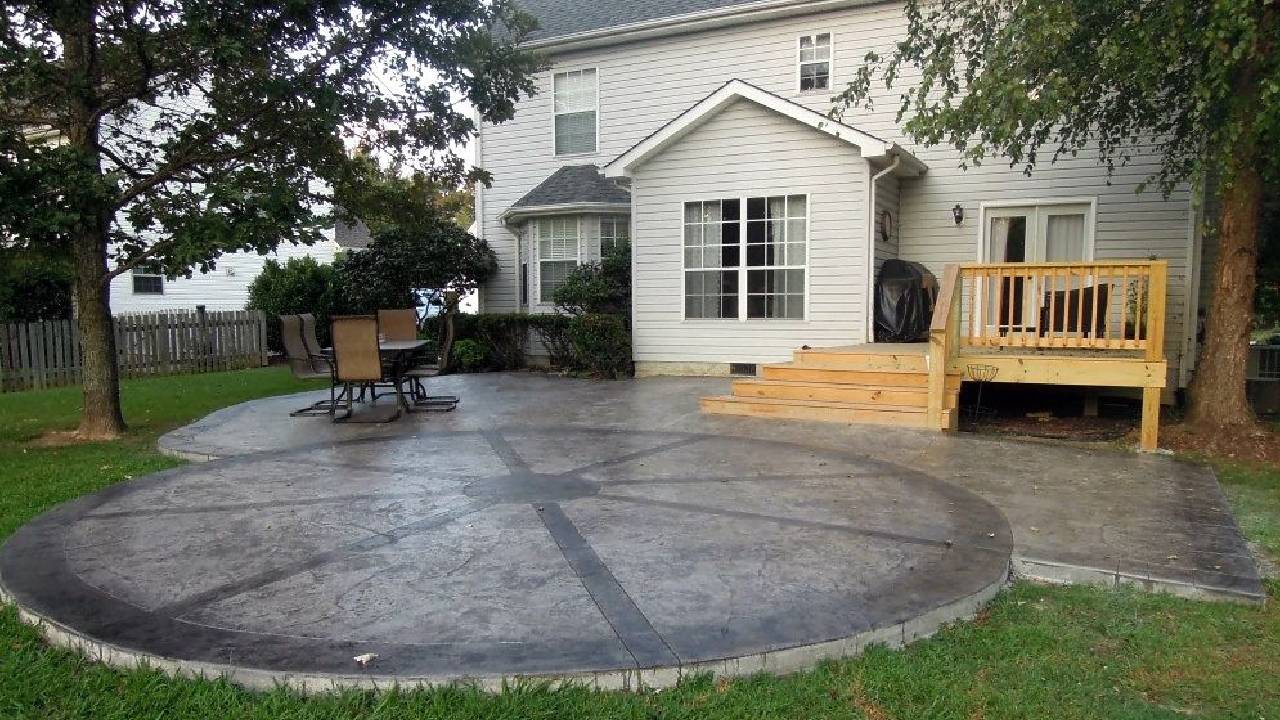
A concrete patio can transform your backyard into a versatile, stylish outdoor living space. While hiring professionals is always an option, tackling the project yourself can be rewarding and cost-effective. This guide will walk you through the steps of a DIY concrete patio installation, helping you achieve professional results.
If you’re looking for the best concrete patio installation services in your area, our guide can help you understand the process from start to finish. Whether you decide to DIY or hire professionals, knowing what makes for top-notch service providers ensures you get the patio of your dreams. Discover more about finding and evaluating the best concrete patio installation services here.
Planning Your Concrete Patio Installation
Before you start your concrete patio installation, it’s crucial to plan thoroughly. Consider the size, shape, and location of your patio. Sketch out your design, ensuring it fits well within your landscape and complements your home’s architecture.
Gathering Materials and Tools
To ensure a smooth installation process, gather all necessary materials and tools beforehand. Here’s a list of essentials:
- Concrete mix
- Wooden stakes and string
- Shovel and hoe
- Level and tape measure
- Gravel or crushed stone
- Concrete form boards
- Concrete mixer or wheelbarrow
- Trowel and float
- Edging tool and jointing tool
- Curing compound
Preparing the Site
- Mark the Area: Use wooden stakes and string to outline your patio area. Ensure the layout is square by measuring diagonally from corner to corner.
- Excavate the Area: Dig to a depth of about 8 inches to accommodate the base and concrete slab. Ensure the ground is even and slopes away from your home to prevent water pooling.
- Add a Gravel Base: Spread a 4-inch layer of gravel or crushed stone to provide a stable foundation. Compact the gravel using a tamper to prevent settling.
Building the Form
- Set Up Form Boards: Install concrete form boards along the perimeter of your patio. Use wooden stakes to secure the boards in place. Ensure the forms are level and square.
- Add Reinforcement: Place a steel rebar or wire mesh within the forms for added strength. This will help prevent cracking and ensure the durability of your patio.
Mixing and Pouring Concrete
- Mix the Concrete: Follow the instructions on the concrete mix bag. Use a concrete mixer or wheelbarrow to combine the mix with water until it reaches a thick, workable consistency.
- Pour the Concrete: Start pouring the concrete into the form, beginning at the far end and working your way back. Use a shovel or hoe to spread the concrete evenly.
- Level the Concrete: Use a screed board (a long, straight piece of wood) to level the surface. Move the screed back and forth in a sawing motion, working from one end of the form to the other.
Finishing the Surface
- Smooth the Surface: After screeding, use a bull float to smooth the surface. This will help remove any imperfections and bring moisture to the surface for a better finish.
- Create Joints: Use a jointing tool to create control joints every 4-6 feet. These joints allow for expansion and contraction, preventing cracks.
- Edge the Patio: Use an edging tool to create a rounded edge along the perimeter of the patio. This not only improves the appearance but also reduces the risk of chipping.
- Apply a Finish: Depending on your preference, you can apply a broom finish for a textured surface or use a trowel for a smooth finish.
Curing and Sealing
- Cure the Concrete: Proper curing is essential for the strength and durability of your patio. Cover the surface with a plastic sheet or use a curing compound to retain moisture. Allow the concrete to cure for at least 7 days.
- Seal the Surface: Once the concrete is fully cured, apply a concrete sealer to protect it from stains, moisture, and weather damage. This step is crucial for maintaining the appearance and longevity of your patio.
Tips for Success
- Weather Considerations: Choose a dry, overcast day for your concrete patio installation. Extreme temperatures and direct sunlight can affect the curing process.
- Work Quickly: Concrete sets rapidly, so it’s important to work efficiently. Enlist the help of friends or family to make the process smoother.
- Safety First: Wear protective gear, such as gloves and safety glasses, to prevent injuries while working with concrete.
Troubleshooting Common Issues
- Cracks: If cracks appear, ensure your control joints are adequately spaced and deep enough. Minor cracks can be repaired with concrete patching compound.
- Uneven Surface: Use a leveling tool to check for uneven spots before the concrete sets. If the surface is already dry, a concrete grinder can help smooth it out.
- Discoloration: Discoloration can result from inconsistent mixing or curing. Apply a concrete stain to even out the color and enhance the appearance.
Enhancing Your Concrete Patio
To personalize your new patio, consider adding decorative elements:
- Staining or Coloring: Add a splash of color with concrete stains or dyes.
- Stamping: Create patterns or textures with concrete stamps.
- Borders and Inlays: Incorporate different materials, like brick or stone, for a unique look.
Conclusion
With careful planning and attention to detail, you can achieve a professional-looking concrete patio installation on your own. This project not only enhances your outdoor living space but also adds value to your home. By following this step-by-step guide, you’ll be well on your way to enjoying a beautiful, durable patio for years to come.